zed.0xff.me
Setting up a scan server on OpenWrt & NetGear WNDR3700
1. Install OpenWrt trunk for ar71xx
Follow openwrt wiki WNDR3700 page for detailed instructions.
I used openwrt-ar71xx-generic-wndr3700-squashfs-factory.img and it worked like a charm. Your firmware image may be different, especially if you have WNDR3700 V2. Read wiki carefully.
Note that trunk build does not have HTTP GUI by default. If you want GUI you have to login with telnet and do:
1 2 3 4 |
opkg update opkg install luci /etc/init.d/uhttpd start /etc/init.d/uhttpd enable |
Or just don’t use trunk. stable branch has the GUI by default.
As for me, I’m happy with CLI (no GUI at all) because it saves precious kilobytes of internal flash (5Mb total is available for user)
2. Configure your wired/wireless networks.
Use HTTP GUI or CLI, see WNDR3700 page or other pages in OpenWrt wiki
2½. [optional] set up extroot
Or you may exhaust all your router free “disk” space very fast.
Or you may be smart enough to fit everything in your router’s default flash memory.
Or your router may have much more that 5Mb of flash available :)
at this step I used a small 2-port unpowered USB hub with integrated microSD card reader + 256Mb microSD card
3. Connect your USB scanner & install USB support packages
1 2 |
opkg update opkg install kmod-usb2 usbutils kmod-leds-wndr3700-usb |
repeating opkg update is not necessary if you did update before and did not rebooted your device.
Ensure your scanner is visible as USB device (mine is Canon MF4018):
1 2 3 4 |
root@OpenWrt:~# lsusb Bus 001 Device 001: ID 1d6b:0002 Linux Foundation 2.0 root hub Bus 002 Device 001: ID 1d6b:0001 Linux Foundation 1.1 root hub Bus 001 Device 003: ID 04a9:26b4 Canon, Inc. MF4010 series |
4. Install SANE frontends & backends
1 |
opkg install sane-frontends sane-backends |
Ensure your scanner is recognized by SANE:
1 2 3 4 5 6 7 8 9 10 11 12 13 14 15 16 17 18 19 |
root@OpenWrt:~# sane-find-scanner # sane-find-scanner will now attempt to detect your scanner. If the # result is different from what you expected, first make sure your # scanner is powered up and properly connected to your computer. # No SCSI scanners found. If you expected something different, make sure that # you have loaded a kernel SCSI driver for your SCSI adapter. # Also you need support for SCSI Generic (sg) in your operating system. # If using Linux, try "modprobe sg". found USB scanner (vendor=0x04a9 [Canon Inc.], product=0x26b4 [MF4010]) at libusb:001:003 # Your USB scanner was (probably) detected. It may or may not be supported by # SANE. Try scanimage -L and read the backend's manpage. # Not checking for parallel port scanners. # Most Scanners connected to the parallel port or other proprietary ports # can't be detected by this program. |
note that “found USB scanner” string.
Try to scan something:
1 2 3 4 5 6 7 |
root@OpenWrt:~# scanimage P6 # SANE data follows 640 877 255 ***SKIPPING A LOT OF GARBAGE*** |
you should see a lot of garbage (raw scan data) on your screen, it can be interrupted with Ctrl+C.
5. Set up HTTP
1 |
opkg install uhttpd jpeg-tools |
now edit /etc/config/uhttpd, especially necessary if you have GUI installed. As for me, I only commented out listening on port 443.
grab small HTML/JS/CGI code from my openwrt-scan-server github repo (free hint: look for “Downloads” button at right ;)
and put it to /www dir on your router.
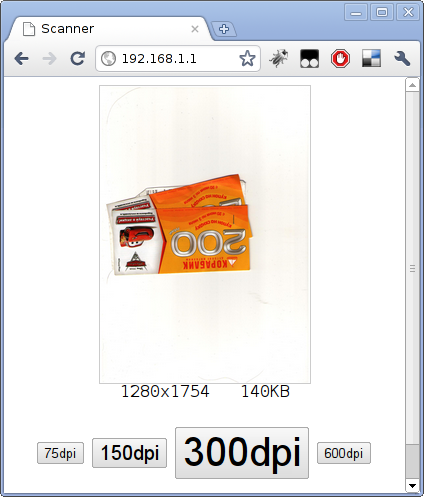
Note that current OpenWrt repos do not have ImageMagick tools available, so if you want a nice image resolution + file size info – you have to install imagemagick-jpeg package and use my identify binary (only for ar71xx platform, see at bin/ar71xx/identify in my github repo, put it in /usr/bin on your router)
6. Test
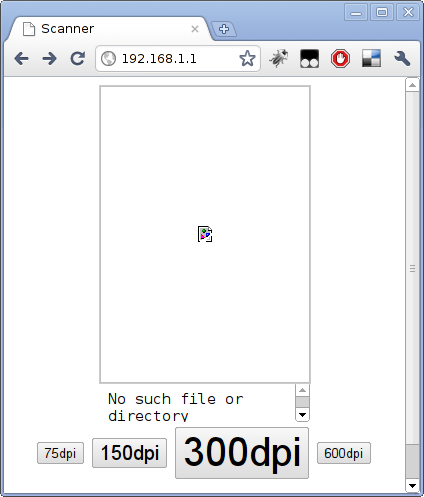
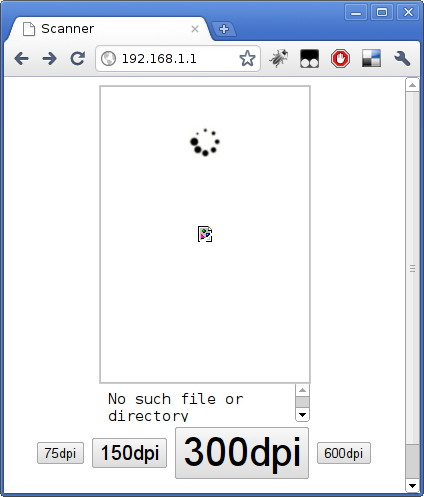
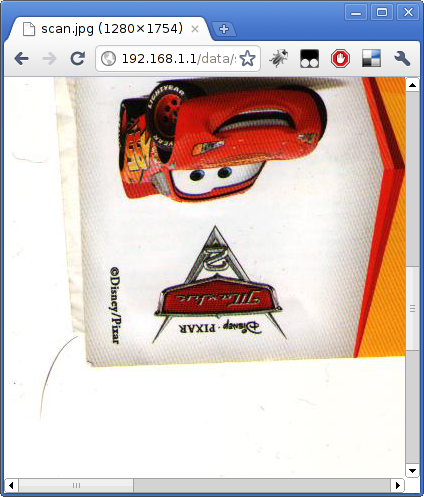
Navigate to your router’s address: http://192.168.1.1 (you may have another one).
You should see something like this: